Cut with Avidemux
Cutting Clips from a Video File without re-encoding
Avidemux is a free tool you can use to perform some basic video editing. With this instruction you can trim the video fast, but with some limitations
- you can only select one fragment you want to keep as final result. If you want more, you need to make multiple segment videos and append them later, or use other tools
- Cutting is only allowed on keyframes. If you want to cut precisely you need to re-encode the video which takes much more time.

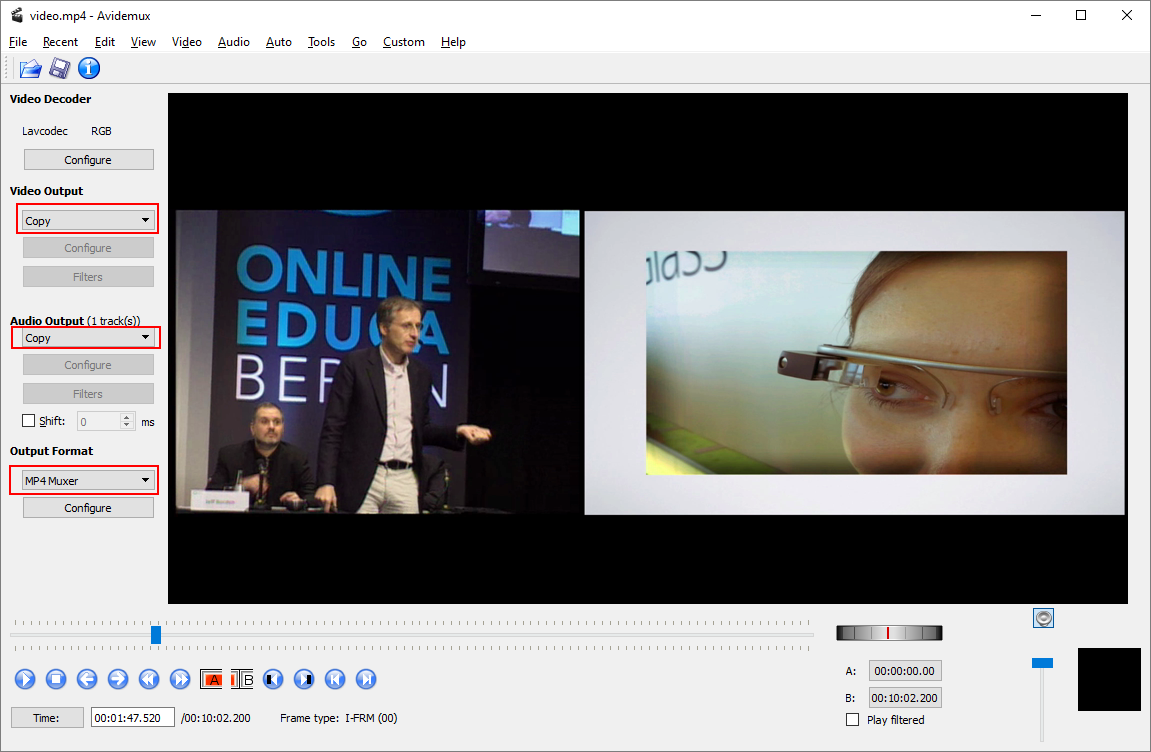
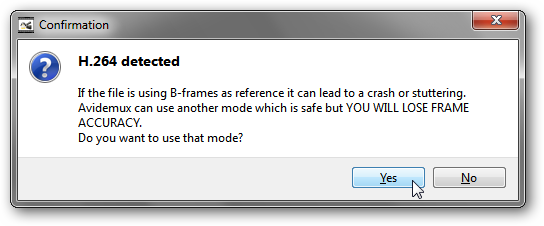
- Open up Avidemux, and load the video file that you want to work with. If you get a prompt like this one:

we recommend clicking Yes to use the safer mode.
Find the portion of the video that you’d like to isolate. Get as close as you can to the start of the clip you want to cut.
- Once you find the start of your clip, look at the “Frame Type” of the current frame.

- You want it to read I; if it isn’t frame type I, then use the single left and right arrow buttons to go forward or backward one frame until you find an appropriate I frame.
Once you’ve found the right starting frame, click the button with the A over a red bar. This will set the start of the clip.

- Advance to where you want your clip to end. Click on the button with a B when you’ve found the appropriate frame. This frame can be of any type.

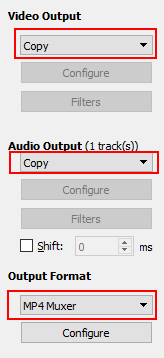
- Make sure you adjust the encoding settings to cut without re-encoding before saving:

- You can now save the clip, either by going to File –> Save –> Save Video… or by pressing Ctrl+S.
- Give the file the name "video.mp4" and place it in the recording folder instead of subfolder "original" and Avidemux will prepare your clip.
Now you have prepared your recording folder with the new trimmed clip and you are ready to publish.