Slide replacement with OpenShot Video Editor
To replace slides you need to export your presentation slide(s) into pictures like bmp, png or jpg format. BMP will give you the sharpest results.
- Browse to the folder with the recording.
- Rename or copy the video to use
- Open OpenShot Video editor and make sure you selected a Full HD profile (Edit/preferences/profile/HD 1080 25p)
- Drag the renamed video or copy into OpenShot Video Editor
- Now drag the video from the upperleft part to the 1st timeline (Track 0)
- Drag the new slides also into the left section of OpenShot
- You will get this warning:

- Select NO
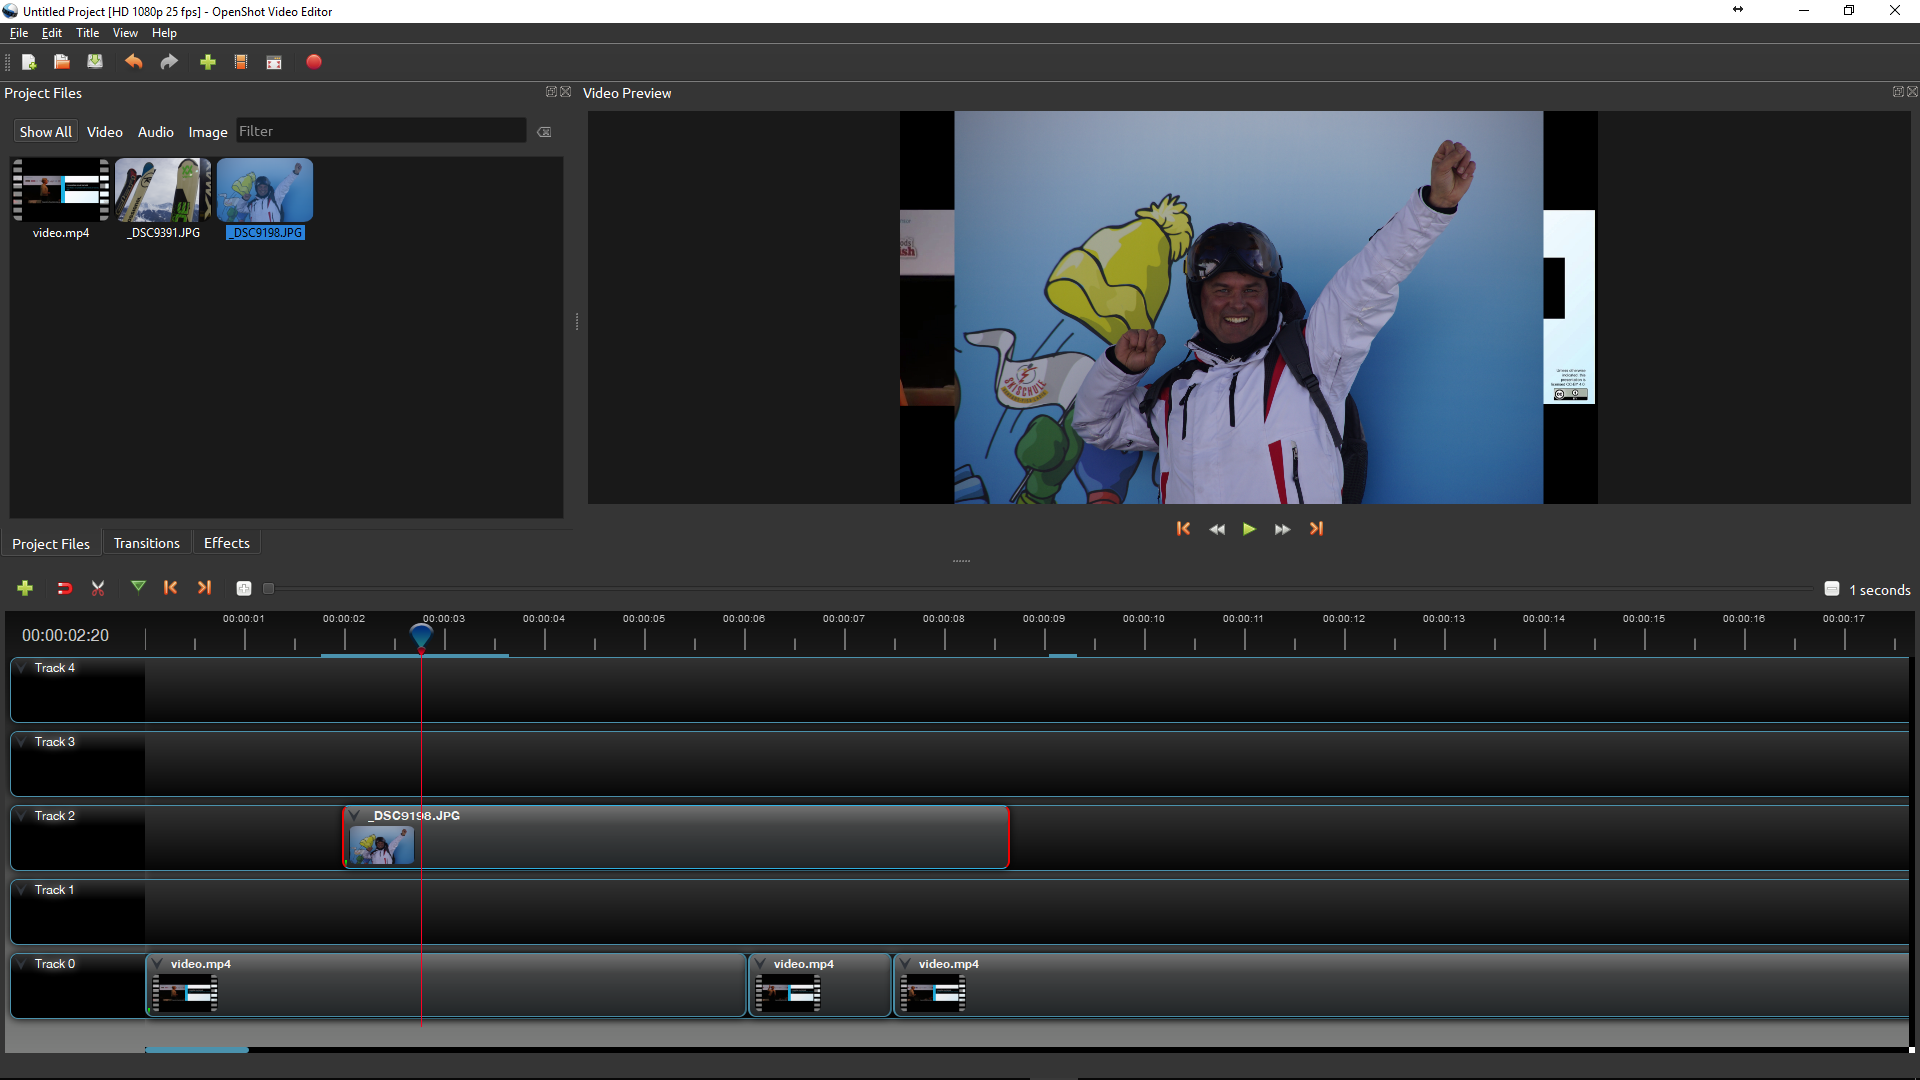
- Now seek the postion to insert the replacement slide and move the red line to the exact point.
- Drag the new slide from the left upper section to a higher timeline (Track 1, 2, 3, 4)
- Make sure the red time marker is at the exact beginning of the slide (unlike the example below)
- Right-click on the image and select Layout | 1/4 size - Center
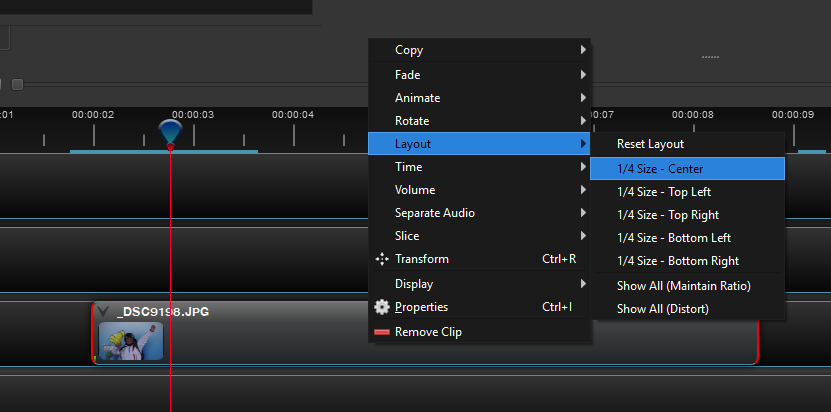
The image will shrink and position in the middle.
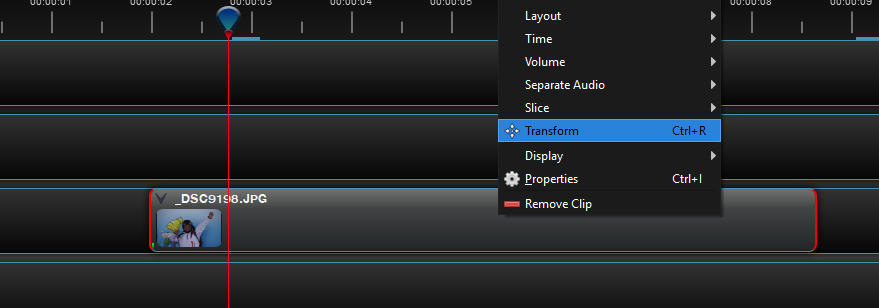
- Right-click again, but now select Transform
- In the preview move the mouse to the middle of the slide (blue dot) until you see the arrows
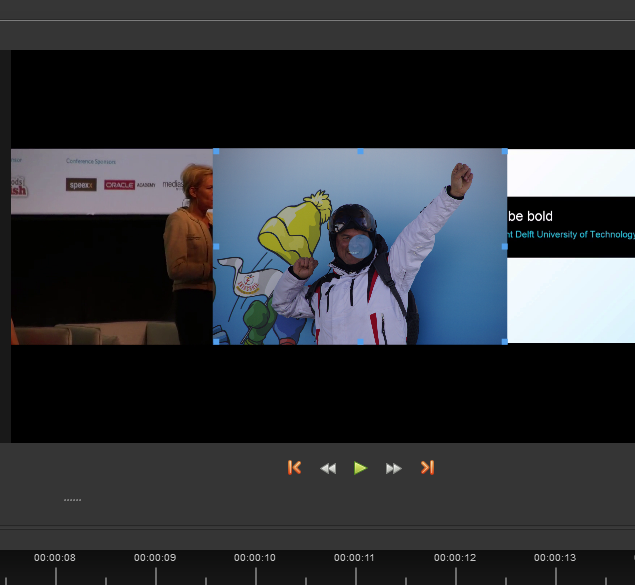
- Now drag the video to the correct position.
(if your time marker is not at the start of the slide, the movement will only start at the position of the time marker.) - Now point your mouse at the end of the slide, until you see the arrows. Drag the slider to the right (or left) to change the duration of the inserted slide.
- Repeat these steps for all slides you want to replace
When you are ready you can export the video by pressing the red button.

- Change the output folder to match your recording folder and save the video as "video.mp4"
- Select a video quality
Medium results in 5Mbps while High produces a 15Mbps video.
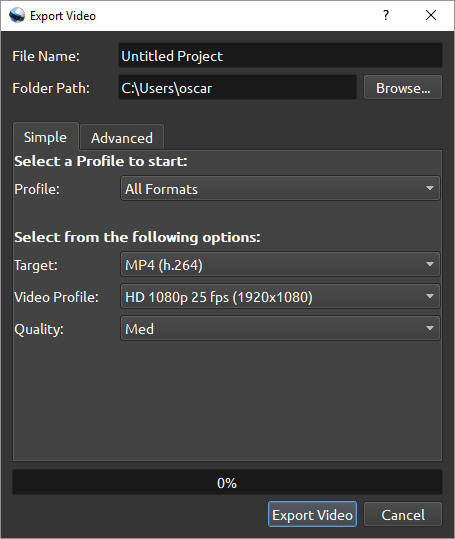
- Click Export VIdeo to continue
Now you have prepared your recording folder with the new trimmed clip and you are ready to publish.